take this book to your next picnic!
dip marshmallow type into edible ink and press into graham crackers to write your own messages! even write your own book?
well, ok, the marshmallow letters are actually etched onto the marshmallow using a laser. and the message in the graham crackers is also burned in by a laser. and there's no edible ink here. but it LOOKS like it's typeset!
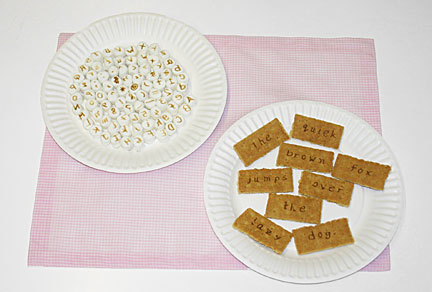
this idea came to be while being silly with my silly friend Pati, who was also helping organize a BABA show at Olive Hyde Gallery. she mentioned the show coming up and asked if I had anything new.
"well, I have this bag of leftover marshmallows from another project that I'm trying to use up in some clever way."
I don't remember who said what next but within seconds we had marshmallow type and graham cracker message book that any loose book arts person would laugh at.
ok, i'll make it for the show. coming up in two weeks. sounds simple enough.
heh heh ...
the reason I even started documenting this silly trip was because of the first several things which did go wrong.
first, I needed to make a jig to hold the marshmallows in place for lasing. I took measurements of various contorted mini marshmallows through the bag and decided a half inch circle would be fine.
during my first laser session which I thought would be all I'd need, I cut the first jig and found I had to twist the marshmallows into the holes. some didn't go so well. they tore open at the sides. I was surprised at how hard it was to squeeze a marshmallow into a slightly smaller rounded space. I decided I'd have to build a new jig with holes of 0.6 inches in diameter and come back for another laser session.
I experimented with putting the text on the marshmallows just to see if that was going to work. somehow my letters, even though they were built on top of the circles, were not spaced properly and would miss anything close to the center of the mallows. somehow I had screwed up passing the right size of my AI file to Photoshop.
then there was the soot left on the edges of the jig from laser cutting that got all over the marshmallow. I made a note to clean the next version of the jig.
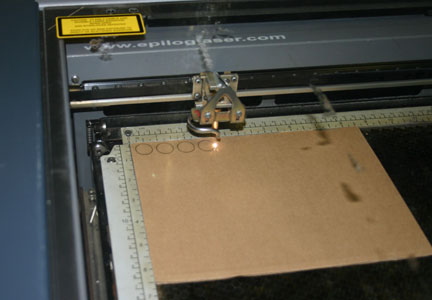
next jig version starting to be cut.
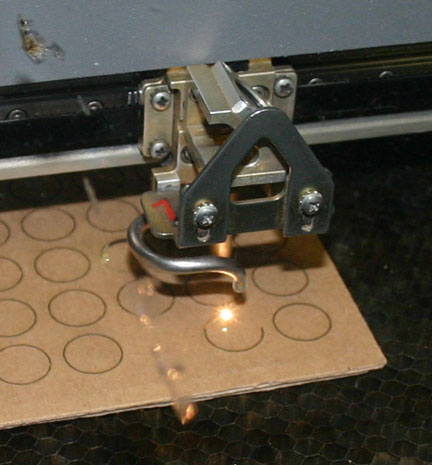
last few circles being cut.
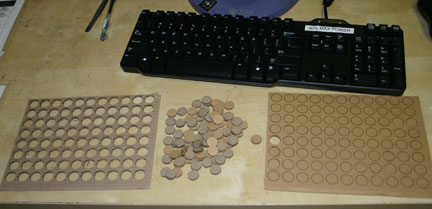
pop out the cut out holes
I tried cleaning the jigs with a cloth but it got too tedious and the jigs were bending. then it hit me - a dirty sided marshmallow looks more authentic as a piece of type. love that serendipity.
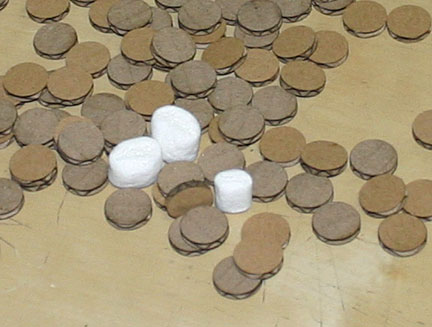
gee, mini marshmallow quality control ain't what it used to be.
well, honestly, I don't think I ever knew what mini marshmallow QC was like. I'm happy to admit I never had a project that required me to pay attention to them at this level.
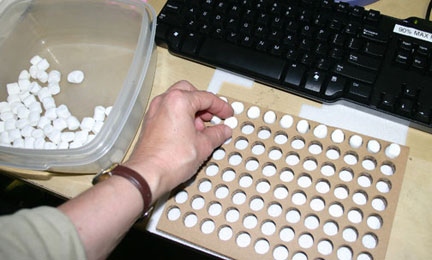
three jigs cut identically out of three pieces of cardboard gave the height needed to hold the marshmallows
but I forgot to put something underneath to hold the marshmallows from falling through. I thought they'd all stick to the sides enough.
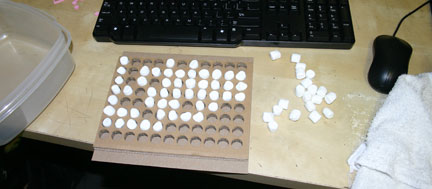
refilling the jig again with marshmallows
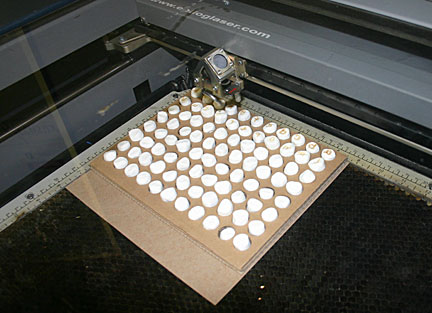
mini m's getting lased
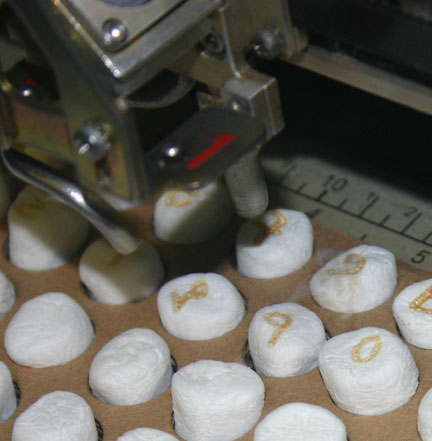
oohhh ... the p is smokin'.
unconsciously, I had high precision expectations of getting every letter set perfectly oriented on each marshmallow. the first run showed me there was more slop in marshmallow shape and jig placement than I was going to be able to apply my perfectionistic ways to this project successfully in the few days left to create it. was that a sentence? I had to back way off and just be happy if the letter or number or punctuation mark looked convincingly enough like what I was aiming for.
should I admit that as I was building the set of type, I sat there for many minutes trying to remember all the special characters I could put in there. I'd draw a few, then stare out into space. finally, at some point my eyes fell on my keyboard and I was saved. angels sang. well, actually, my angels, newly relieved, went back to their gin and 5 card stud.
so now that you get the gist of this project, I can explain that the first big failing was when I tried to go back and forth between Adobe Illustrator and Photoshop. I needed precisely sized jig vectors from Illustrator but wanted to use a Photoshop brush for the text because it would look more marshmallowy although less typesetty. so I built the circles in AI, then passed that file to Photoshop and built all the characters. first round at the laser I saw that the file size was not preserved and my text was slightly larger than I wanted it and I was not successful in resizing it in CorelDraw, which I need to use to print to the laser.
oh-khay - that was 4 hours into the project, about total of what I was expecting to spend. after one more half hour hemming and hawwing, I decided to do all the letters in AI. I know, I know - you were staring at the marshmallows asking "Why in the world didn't she use Photoshop?"
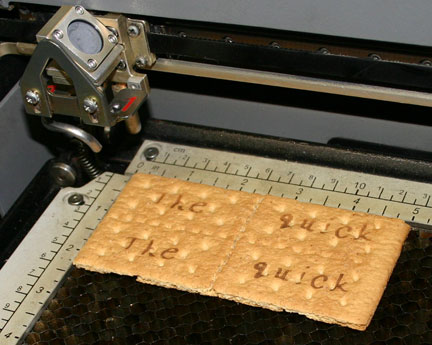
etching the crackers:
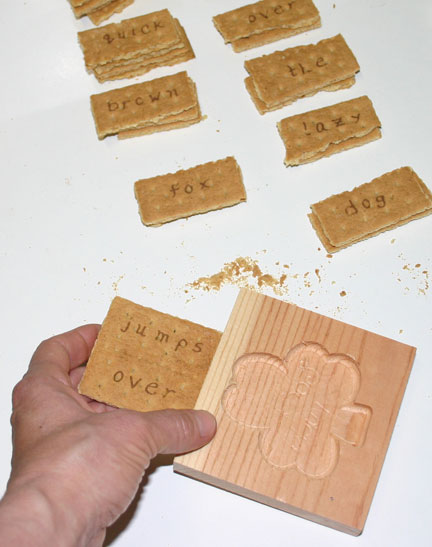
cracking the crackers:
sometimes I am prepared with multiples, like having four copies of each word in the crackers. but I found I could not break the crackers evenly and was forced to improve my methods before I ran out of crackers. wood block to the rescue. I pushed the cracker against the wood block straight edge and voila! straightly broken word crackers!
I tempted fate by only making one set of marshmallow type. as I was gluing them down with rubber cement to the paper plate, I accidentally dropped one into the rubber cement jar. I fished it out and kept gently wiping the cement off until it seemed like I was down to marshmallow. I couldn't be sure. at some point all the tiny cement balls turned dark gray like they always do. I had to use tweezers to pick off the bits.
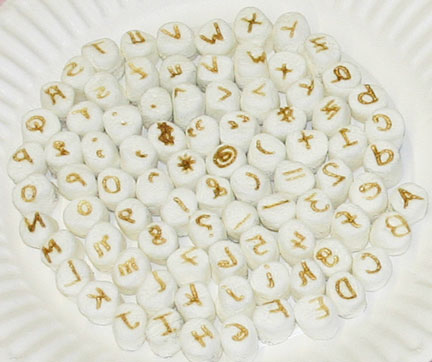
closeup of the type:
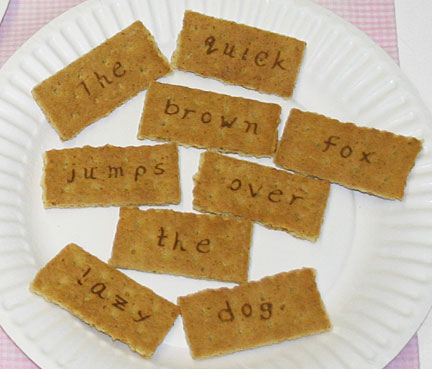
and the words:
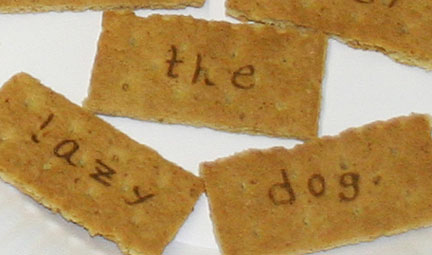
this pic was supposed to prove to you that they were lased but ok, it could still be brown paint or a Sharpie marker - your guess:
while getting through the days of this project, I did have to remember to store this edible book in a locked plastic container to keep it out of reach of the mouse visitor that we're trying to transplant these days.
net net - it took three times as many hours as planned, not counting the 4 plus hours it took for me to compile this story. and the book won't last long. but these electrons will. and it's just one more bit of silliness in this world - a world that isn't yet too long on silliness. so i'm happy to do my part. what are you doing for yours? tell me!
on display at Olive Hyde Gallery through Oct 2. reception Sept 3, 2010 7-9 pm.
my artist statement for this show
marshmallow etching parameters
| Laser brand | Epilog |
| Laser type | CO2 |
| Laser watts | 45 |
| Tube life | kinda new |
| Artwork | thin lines |
| focus | out of focus down 0.5 inch |
| Raster Speed | 20 |
| Raster Power | 90 |
| dpi | 300 |
graham cracker etching parameters
| Laser brand | Epilog |
| Laser type | CO2 |
| Laser watts | 45 |
| Tube life | kinda new |
| Artwork | thinnish lines |
| focus | out of focus down 0.5 inch |
| Raster Speed | 50 |
| Raster Power | 90 |
| dpi | 200 |
a friend asked me why I didn't make this book with chocolate as the ink. beeeecauuuuuse I was too laser focused? beeeecauuuuse I only had a short amount of time to make it? beeeecauuuuse I didn't think of it? I think chocolate ink on the graham crackers (and maybe still laser etching the marshmallows) would work so much better. if you are so inspired, go for it! and send me a pic!


